SonarQube
Overview
This installation happens on the
dsb-hub.
According to SonarQube's Website, SonarQube is an open-source platform used to continuously inspect the quality of code in various programming languages. It is designed to detect bugs, security vulnerabilities, and code smells, providing detailed reports to help developers maintain high standards in their codebases. SonarQube is widely used in DevSecOps environments to ensure that code remains secure, maintainable, and follows industry best practices.
Prerequisites
Note: This installation uses PostgreSQL 16.6 (Ubuntu 16.6-0ubuntu0.24.04.1)
-
Switch to the PostgreSQL User
First, switch to thepostgresuser to perform database-related tasks:sudo -i -u postgres -
Create a Database and User for SonarQube
While logged in as thepostgresuser, create a new PostgreSQL user and database for SonarQube:# Create the sonar user and database
createuser sonar
createdb sonar -
Set Password and Grant Privileges
Still as thepostgresuser, start the PostgreSQL session. Set a password for thesonaruser and grant the necessary privileges:# Start the PostgreSQL session
psql
# Set password for sonar user
ALTER USER sonar WITH ENCRYPTED PASSWORD 'your_password';
# Grant initial database privileges
GRANT ALL PRIVILEGES ON DATABASE sonar TO sonar;
# Connect to the sonar database to grant schema privileges
\c sonar
# Grant all necessary schema privileges
GRANT ALL ON SCHEMA public TO sonar;
GRANT ALL PRIVILEGES ON ALL TABLES IN SCHEMA public TO sonar;
GRANT ALL PRIVILEGES ON ALL SEQUENCES IN SCHEMA public TO sonar;
GRANT ALL PRIVILEGES ON ALL FUNCTIONS IN SCHEMA public TO sonar;
GRANT USAGE ON SCHEMA public TO sonar;
GRANT CREATE ON SCHEMA public TO sonar; -
Exit PostgreSQL and Return to the Original User
Exit from the PostgreSQL session return to the original user:# Exit PostgreSQL session
\q
# Return to the original user
exit -
Update the
pg_hba.confFile
Modify thepg_hba.conffile to configure authentication:sudo nano /etc/postgresql/16/main/pg_hba.confAdd the following line to enable
scram-sha-256authentication for thesonaruser:local sonar sonar scram-sha-256
Installation Steps
-
Download and Install SonarQube
Download the SonarQube package and extract it:cd /opt
sudo wget https://binaries.sonarsource.com/Distribution/sonarqube/sonarqube-10.6.0.92116.zip
sudo apt install unzip -y
sudo unzip sonarqube-10.6.0.92116.zip
sudo mv sonarqube-10.6.0.92116 sonarqube -
Create a SonarQube User
Create a dedicated user for running SonarQube and set the correct permissions:sudo adduser sonar
sudo chown -R sonar:sonar /opt/sonarqube -
Update SonarQube Database Configuration
Edit thesonar.propertiesfile to configure SonarQube's connection to the PostgreSQL database:sudo nano /opt/sonarqube/conf/sonar.propertiesUpdate the PostgreSQL settings:
# PostgreSQL settings
sonar.jdbc.username=sonar
sonar.jdbc.password=your_password
sonar.jdbc.url=jdbc:postgresql://localhost/sonar -
Set Up the SonarQube Service
Create a new systemd service file for SonarQube:sudo nano /etc/systemd/system/sonarqube.serviceCopy the following content into the file:
[Unit]
Description=SonarQube service
After=syslog.target network.target

[Service]
Type=forking
User=sonar
Group=sonar

ExecStart=/opt/sonarqube/bin/linux-x86-64/sonar.sh start
ExecStop=/opt/sonarqube/bin/linux-x86-64/sonar.sh stop
ExecReload=/opt/sonarqube/bin/linux-x86-64/sonar.sh restart

Restart=on-failure

[Install]
WantedBy=multi-user.target -
Reload Systemd and Start SonarQube
Reload the systemd daemon and start the SonarQube service:sudo systemctl daemon-reload
sudo systemctl start sonarqube
sudo systemctl enable sonarqube -
Confirm SonarQube is Running
Verify that SonarQube is running by opening your web browser and navigating to:http://your_ip_address:9000
Configuring SonarQube
-
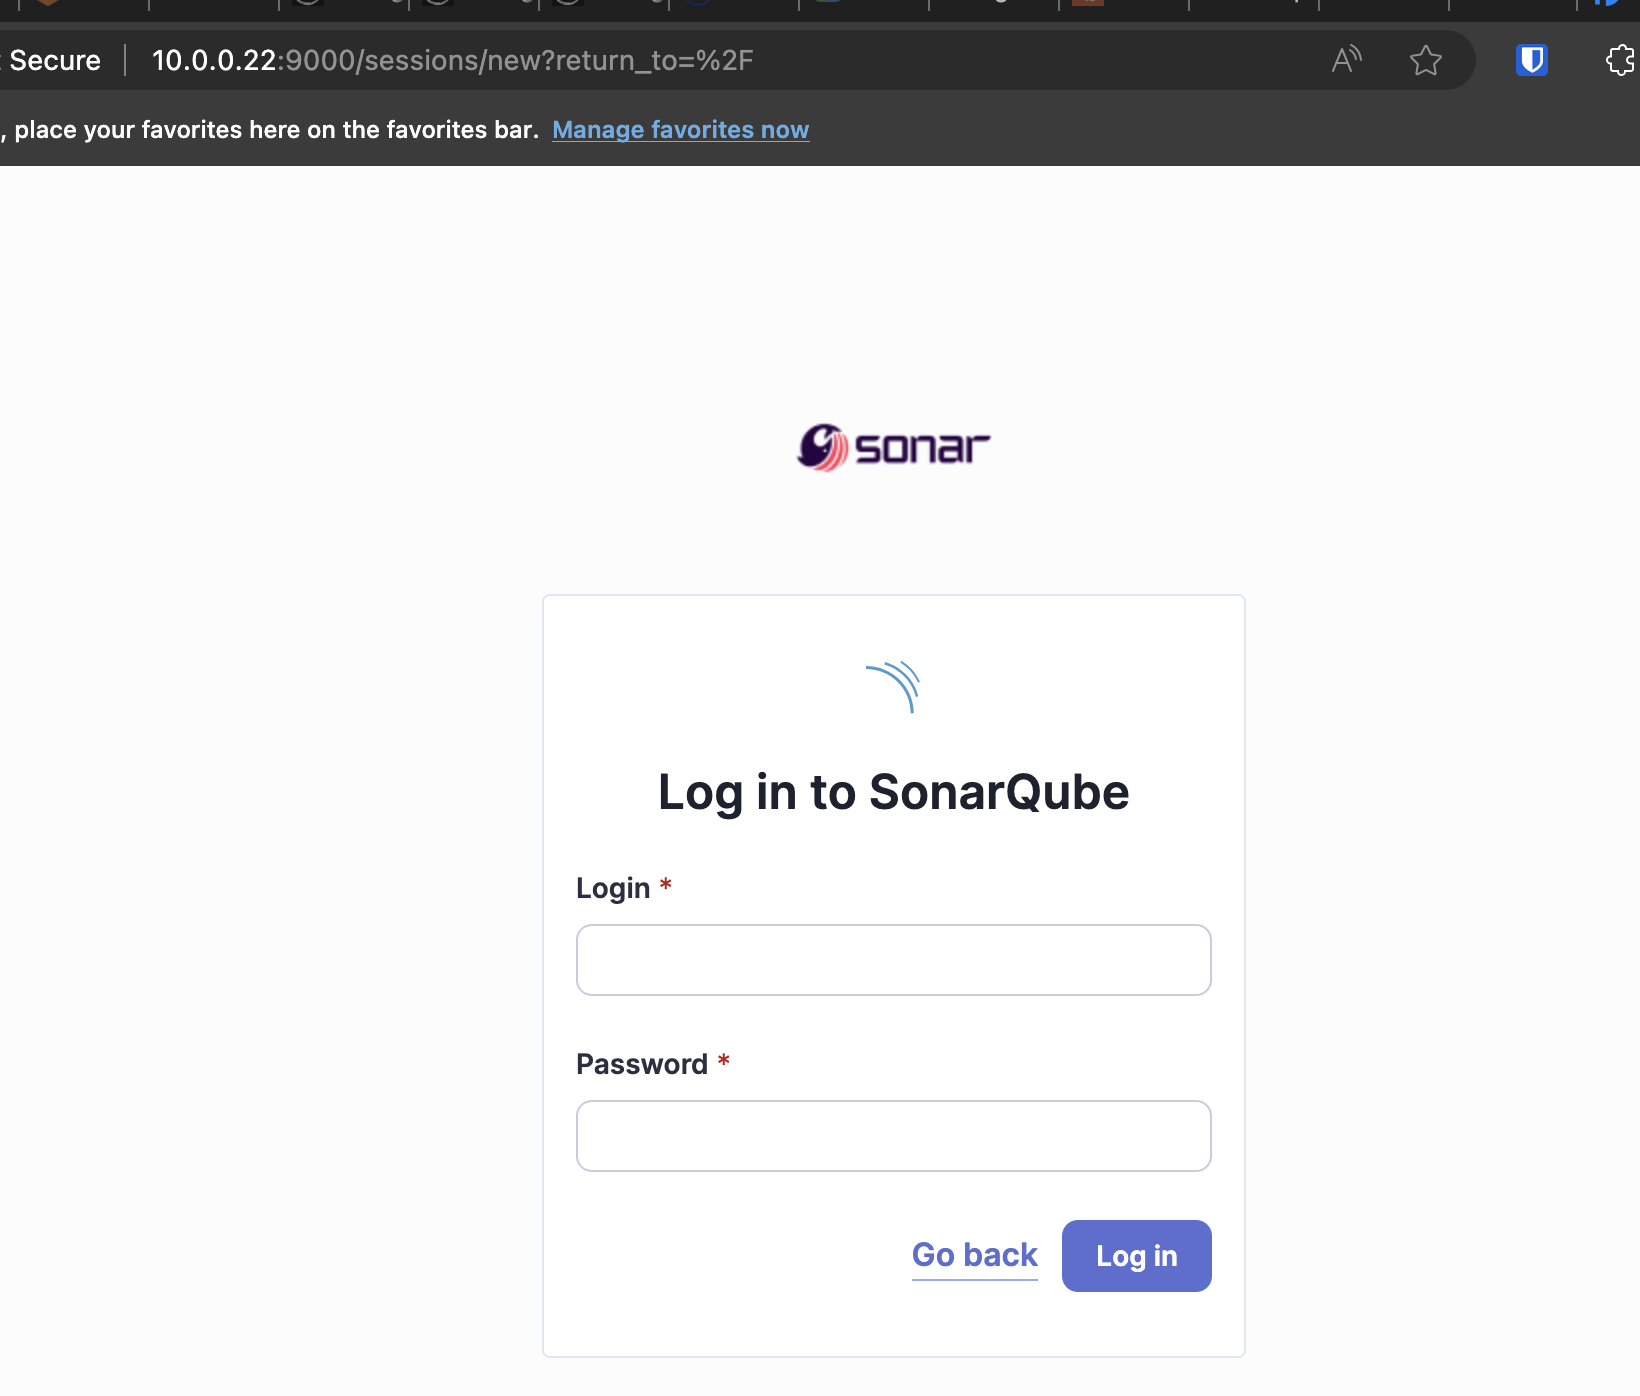
Log into SonarQube and type in the default credentials (username:
admin, password:admin). -
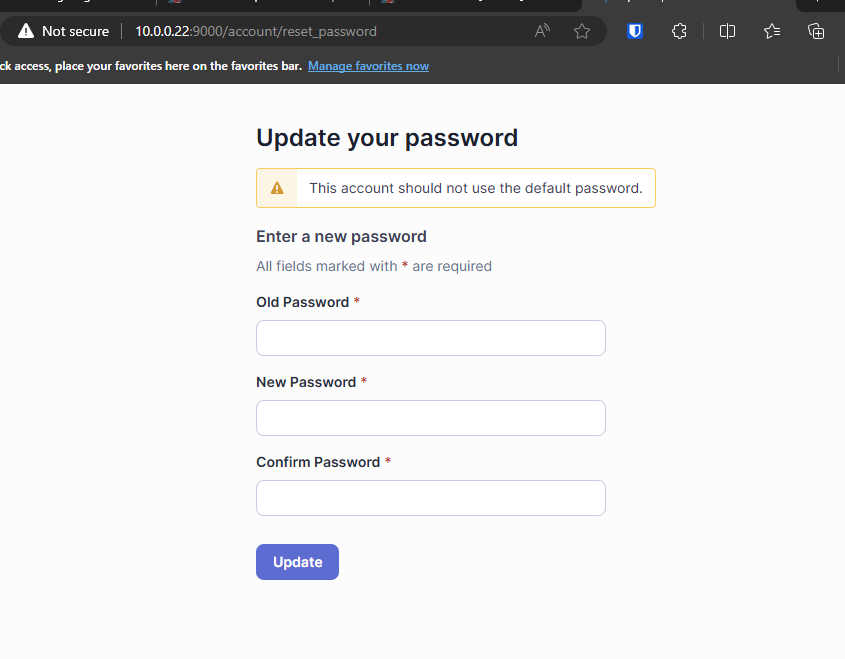
Change your password to something new after the first login.

-
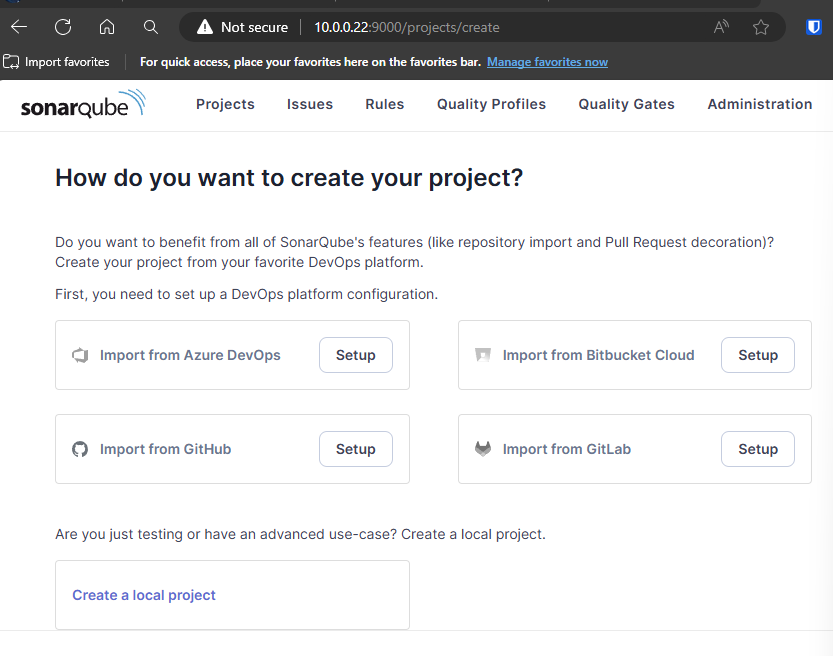
You will be directed to the dashboard. Click on 'Create Project':

-
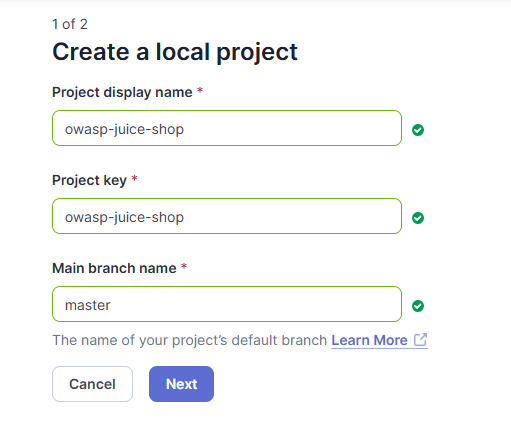
Create a local project and enter
owasp-juice-shopas the display name and project key. Set branch =master.
-
Hit next and set 'Use global setting', then hit 'Create Project'.
Jenkins Integration with SonarQube
-
From the Jenkins Dashboard, navigate to Manage Jenkins > Manage Plugins and install the SonarQube Scanner plugin.
-
Navigate to Credentials > System from the Jenkins Dashboard.
-
Click the Global credentials (unrestricted) link in the System table.
-
Click Add credentials and add the following information:
- Kind: Secret Text
- Scope: Global
- Secret: Generate a token at User > My Account > Security in SonarQube, and copy and paste it here.
-
From the Jenkins Dashboard, navigate to Manage Jenkins > Configure System.
-
In the SonarQube Servers section, click Add SonarQube. Add the following information:
- Name: Give a unique name to your SonarQube instance.
- Server URL: Your SonarQube instance URL.
- Credentials: Select the credentials created in step 4.
-
Click Save to complete the integration.
You're Done
You’ve successfully installed and configured SonarQube and integrated it with Jenkins. This setup allows you to continuously monitor code quality and security vulnerabilities.