Deploying and Configuring Your DevSecOps Pipeline
Overview
We've finally reached the stage where we deploy our infrastructure using Terraform Cloud. This guide will walk you through creating, configuring, and deploying the necessary DevSecOps pipelines for your project.
Configuration Steps
Terraform Cloud Setup
- Log into Terraform Cloud and select the DSB organization.
- Click the New button to create a new project. Provide a name and description as needed.
- Navigate to Workspace, select the project you created, and click Continue.
- Choose CLI-Driven Workflow (required for GitHub Actions).
- Enter the workspace name as
dsb-aws-devsecops-eks-cluster. Add an optional description and click Create. - Repeat the same steps for another workspace named
dsb-aws-devsecops-pipelines.
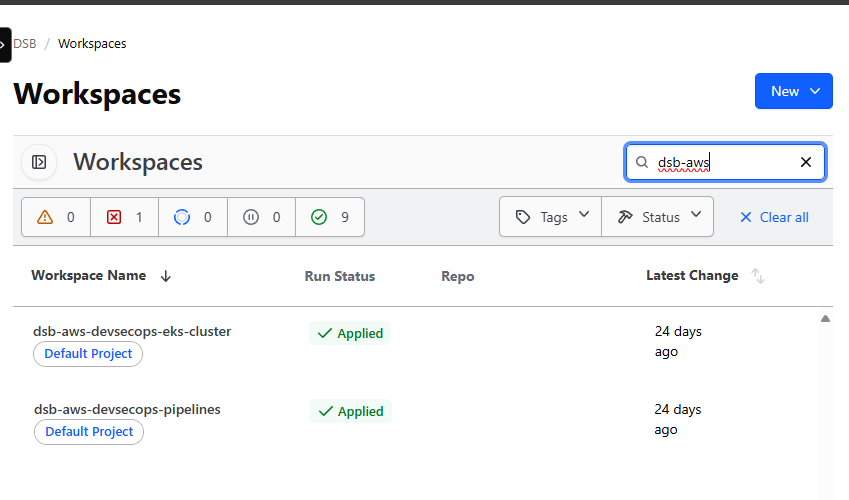
At the end of this process, you should have two workspaces created. Here’s an example of how they should appear in your organization (without the Run Status applied):
Configuring Secrets in Terraform Cloud
-
Navigate to the
dsb-aws-devsecops-pipelinesworkspace and select Variables.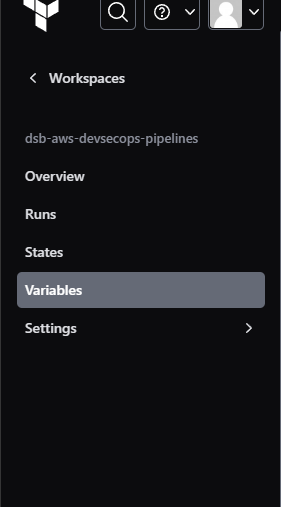
-
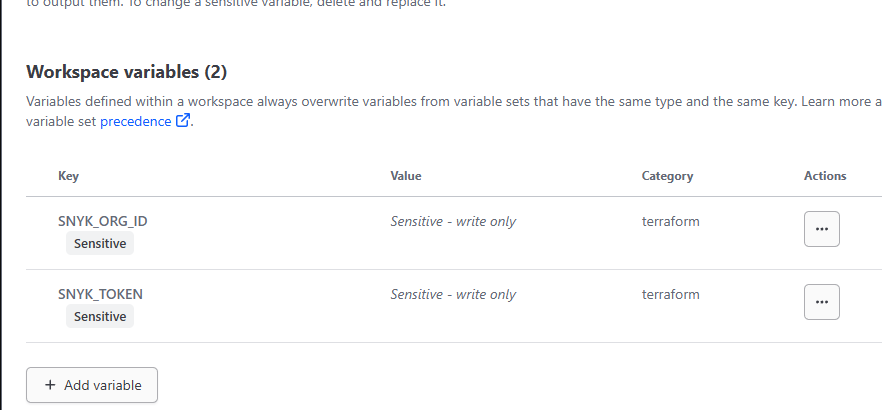
Under Workspace Variables, create two sensitive variables:
SNYK_ORG_IDSNYK_TOKEN
Populate these variables with the respective values. The final setup should resemble this:
Deploying Changes via GitHub Actions
With the workspaces configured, you can now deploy changes using GitHub Actions.
-
Log into GitHub and open your forked project:
aws-devsecops-pipelines. -
Navigate to Actions and click on
.github/workflows/main.yml.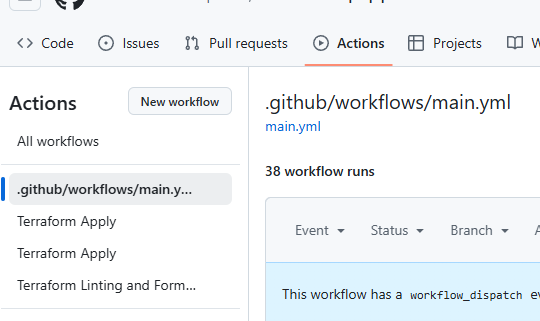
-
On the right-hand side, select the Run Workflow dropdown and click Run Workflow. This triggers the pipeline to:
- Checkout the repository.
- Plan and apply changes in Terraform Cloud.
- Deploy the EKS Cluster and DevSecOps pipeline for
AWSOME-FastAPI.
ghi chúThis process may take around 30 minutes. Feel free to step away during this time as the EKS Cluster creation is time-intensive.
-
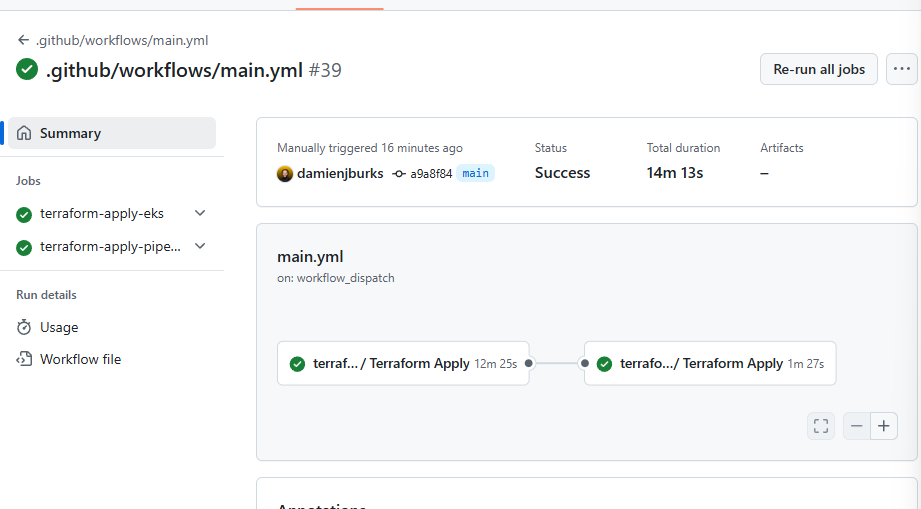
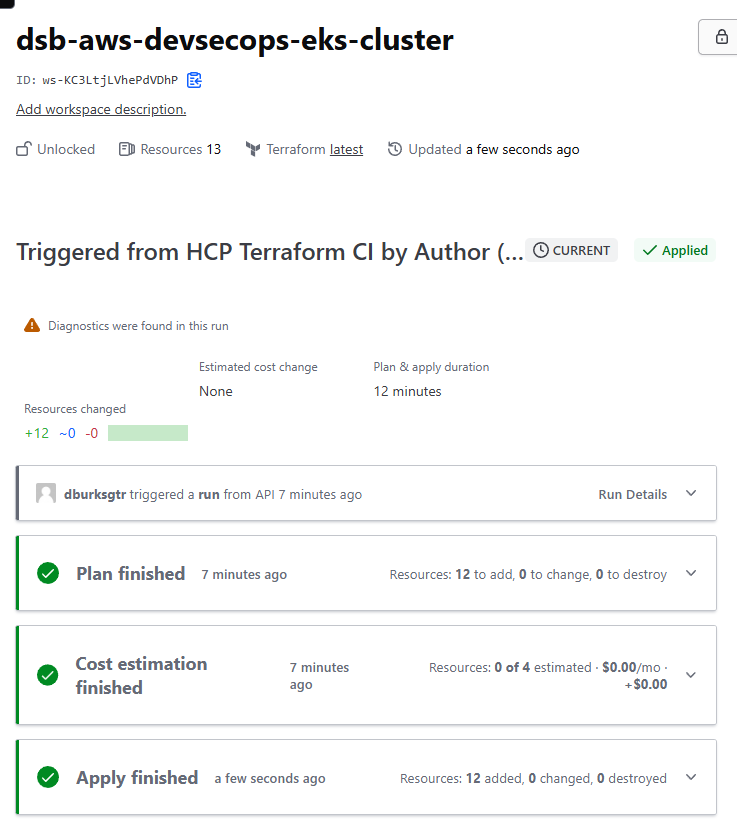
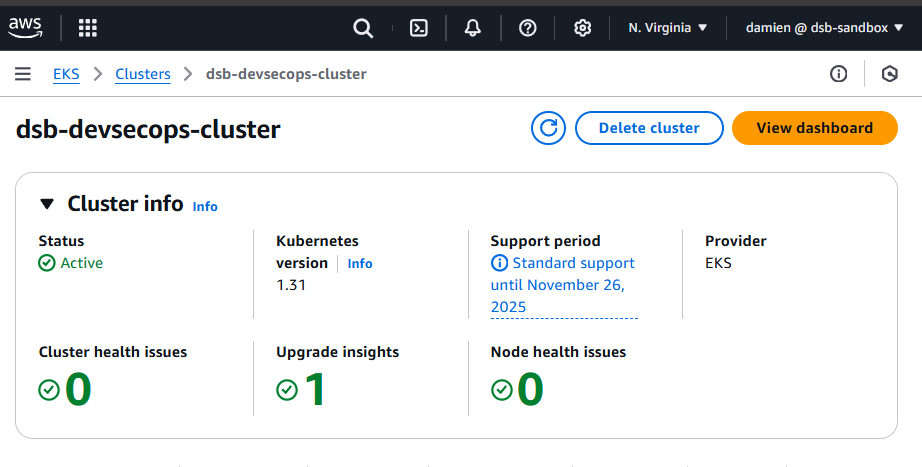
Confirm that the plans have been applied successfully. You should see successful builds in both GitHub and Terraform Cloud. Example results are shown below:
GitHub Pipeline Execution:
Terraform Cloud Deployment:
AWS Overview:
Configuring and Testing CodeStar Connection
With your infrastructure deployed, the next step is configuring the CodeStar Connection to link AWS with GitHub. This ensures automatic detection and deployment of changes to your Python project, AWSOME-FastAPI.
-
Navigate to the CodePipeline Dashboard in AWS.
-
Click Settings > Connections and select the
dsb-github-connectionname. Its status will likely bePending, which explains why the pipeline is in afailedstate. The connection needs to beActive.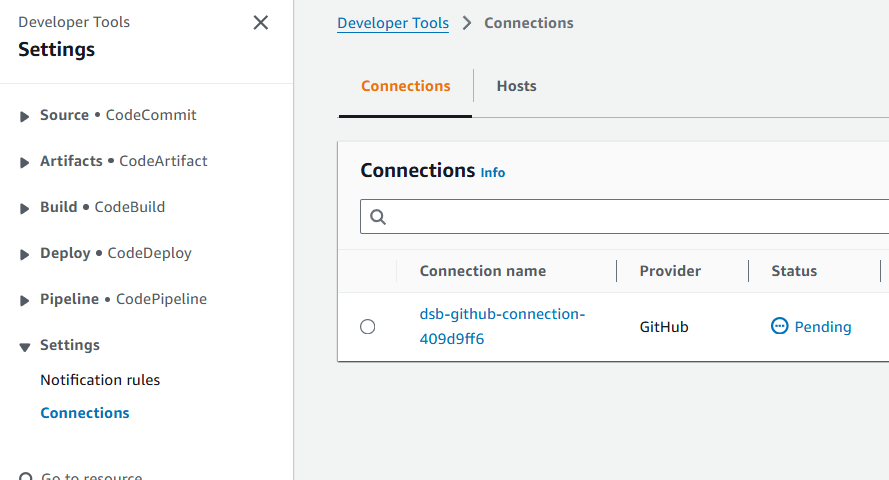
-
Click Update Pending Connection. A browser pop-up will appear.
-
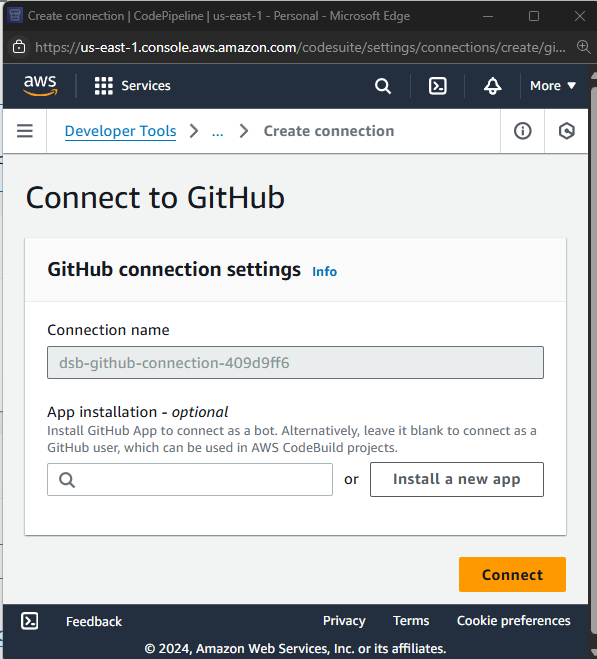
Click Install a New App.
-
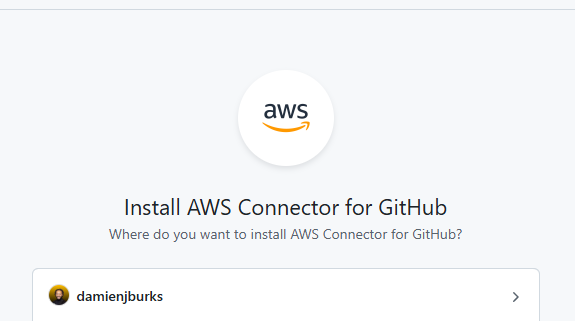
Select your GitHub username to install the AWS Connector for GitHub.
-
Once redirected back to the Connect to GitHub dashboard, click Connect. The connection status should now display as
Available.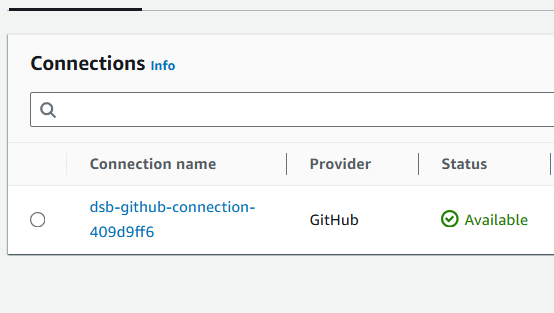
With these steps completed, your pipeline is fully operational and ready to detect and deploy changes from your GitHub repository.