Nexus
Overview
This installation happens on the
dsb-hub.
Nexus Repository Manager is a tool for managing components and build artifacts across various formats like Docker, Maven, and npm. We are using Docker Compose to install Nexus to avoid conflicts with SonarQube's JDK requirements. Nexus will be used to manage Docker images, allowing us to proxy images from Docker Hub, cache them locally, and securely manage retrieval.
Installation Steps
-
Create a new directory for Nexus:
mkdir -p apps/nexus/nexus-data
sudo chown -R 200 apps/nexus/nexus-data -
Create the Docker Compose YAML file:
cd apps/nexus
touch docker-compose.yml -
Add the following content to the
docker-compose.yml:version: "3"
services:
nexus:
image: sonatype/nexus3
restart: always
volumes:
- "./nexus-data:/nexus-data"
ports:
- "8081:8081"
- "8082:8082"
- "8085:8085"
volumes:
nexus-data:
driver: local -
Run the application:
docker compose up -d -
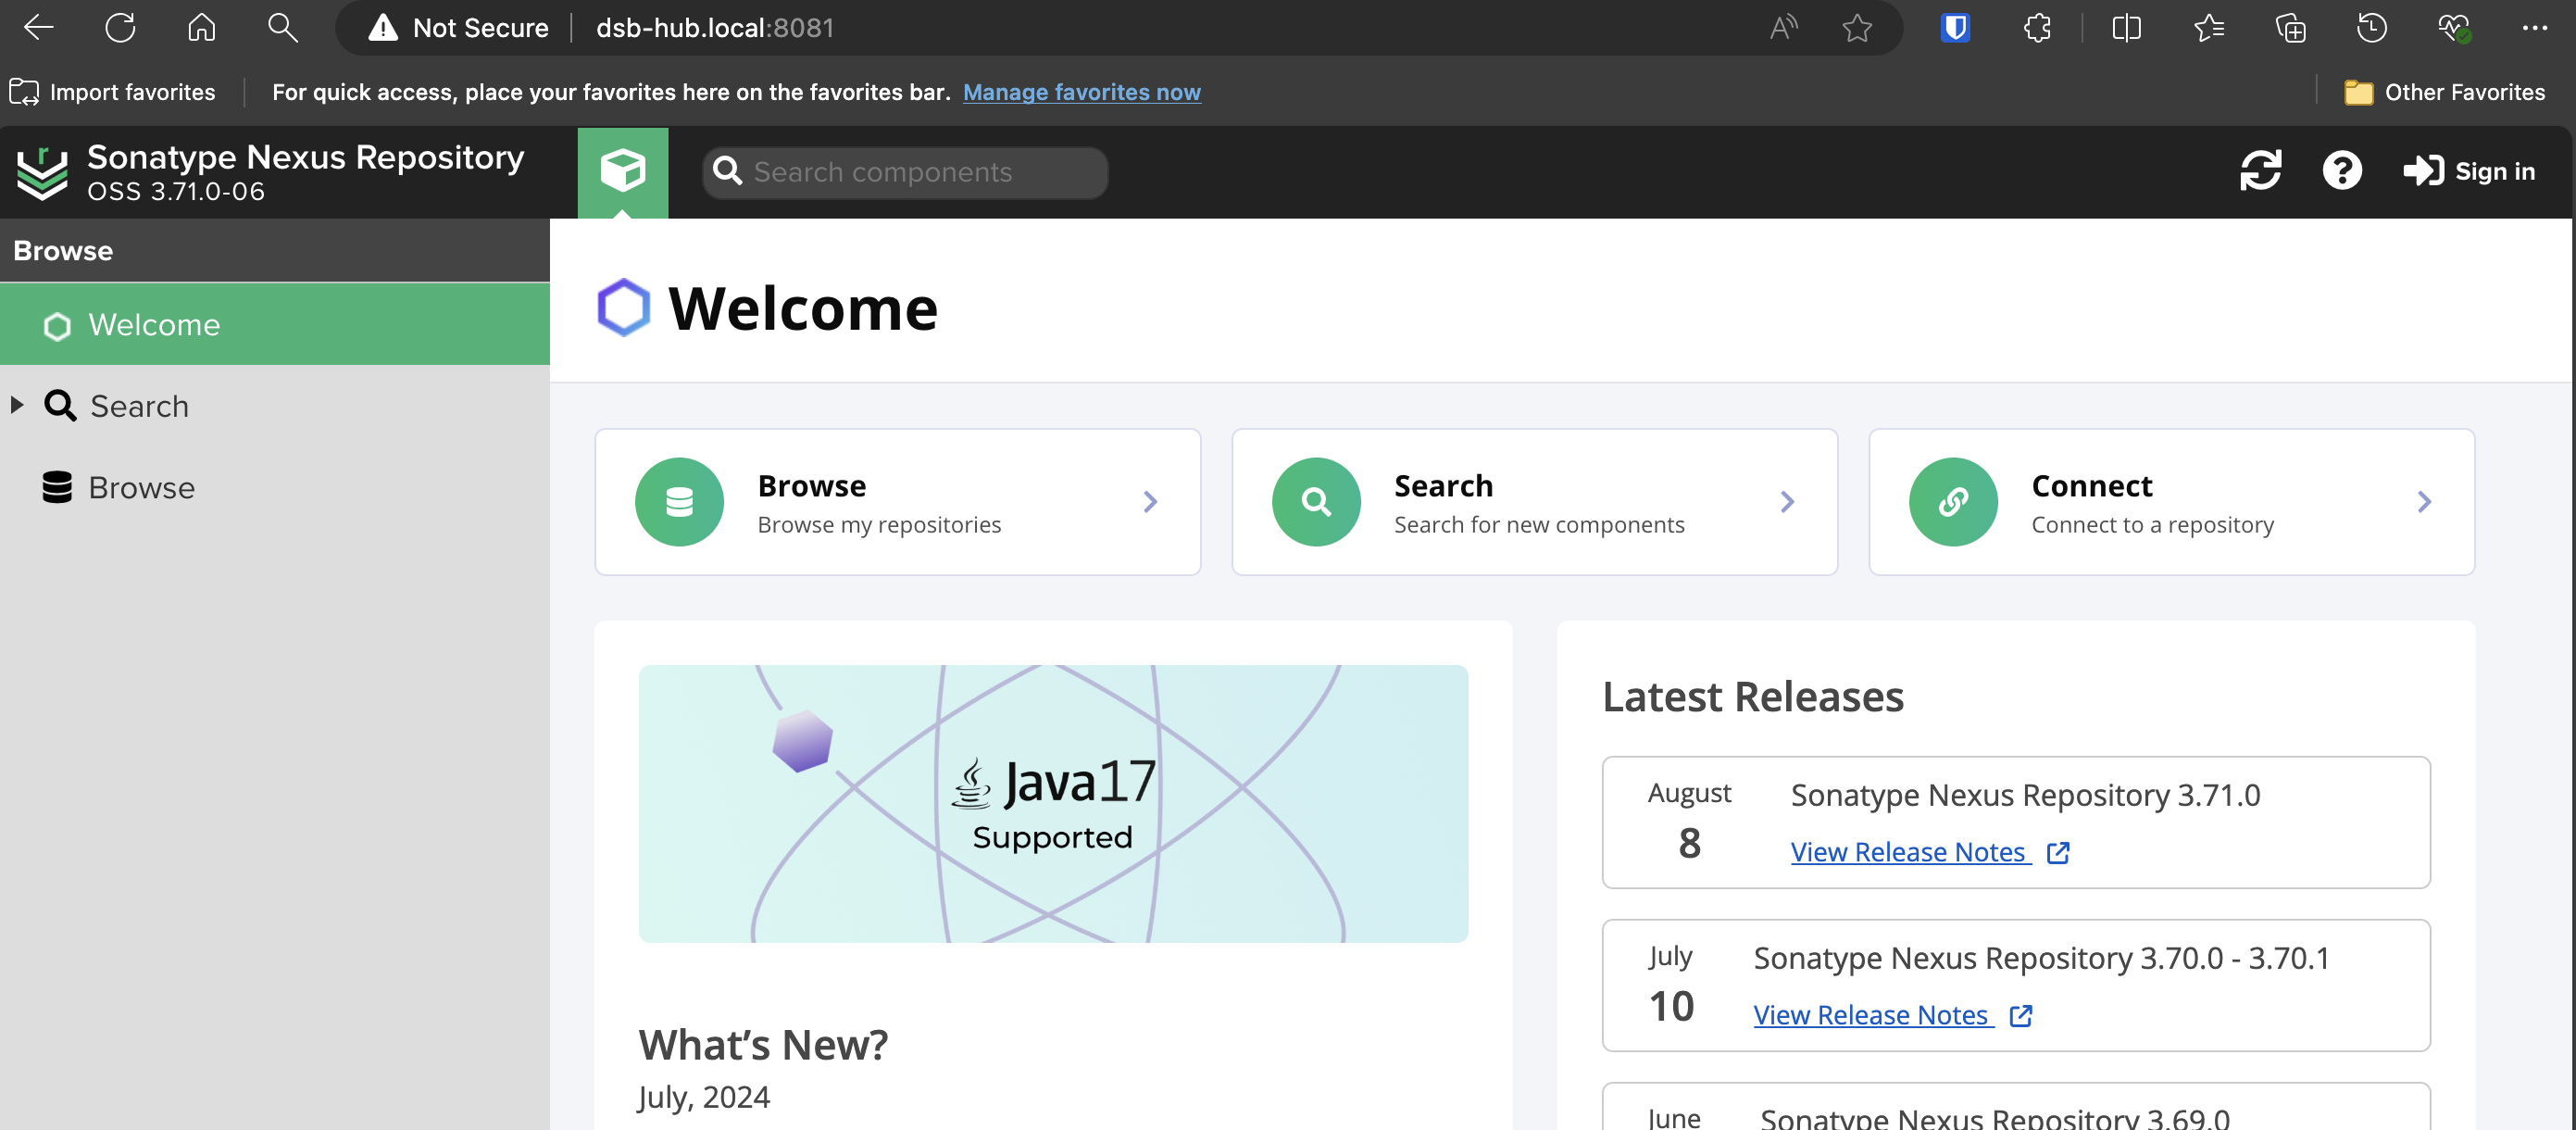
Confirm that the application is up and running by visiting:
http://your-ip-address:8081
Configuration Steps
-
Click the "Sign In" button and locate the admin password:
cat nexus-data/admin.password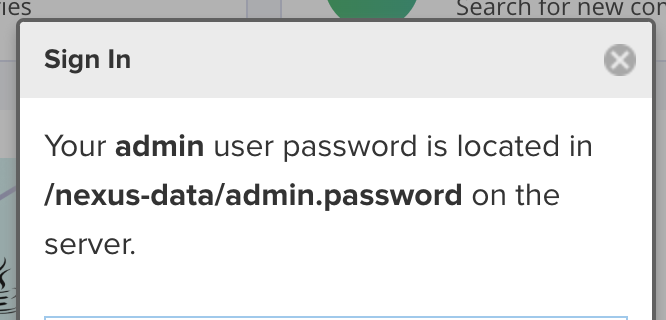
-
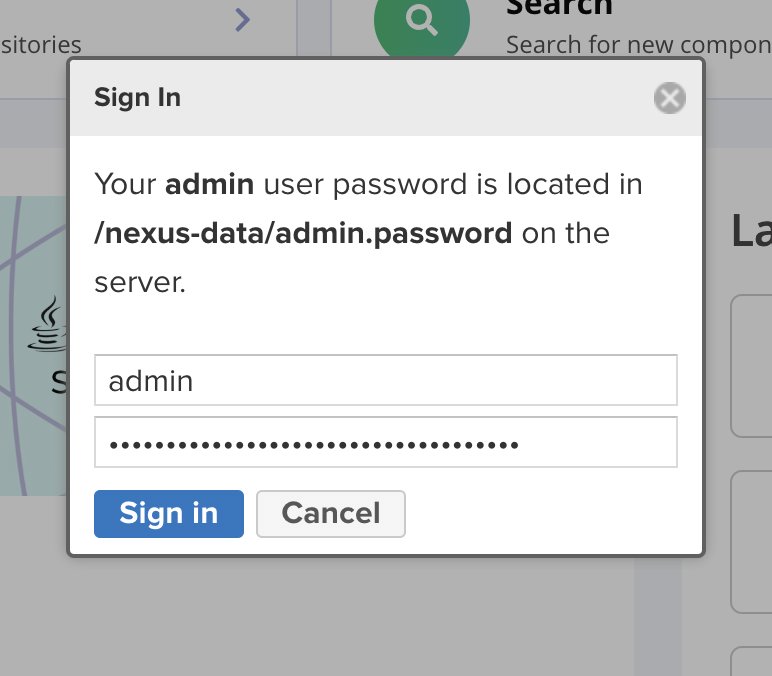
Use the password to log in and complete the initial setup:
- Change your password.
- Enable anonymous access if desired.
-
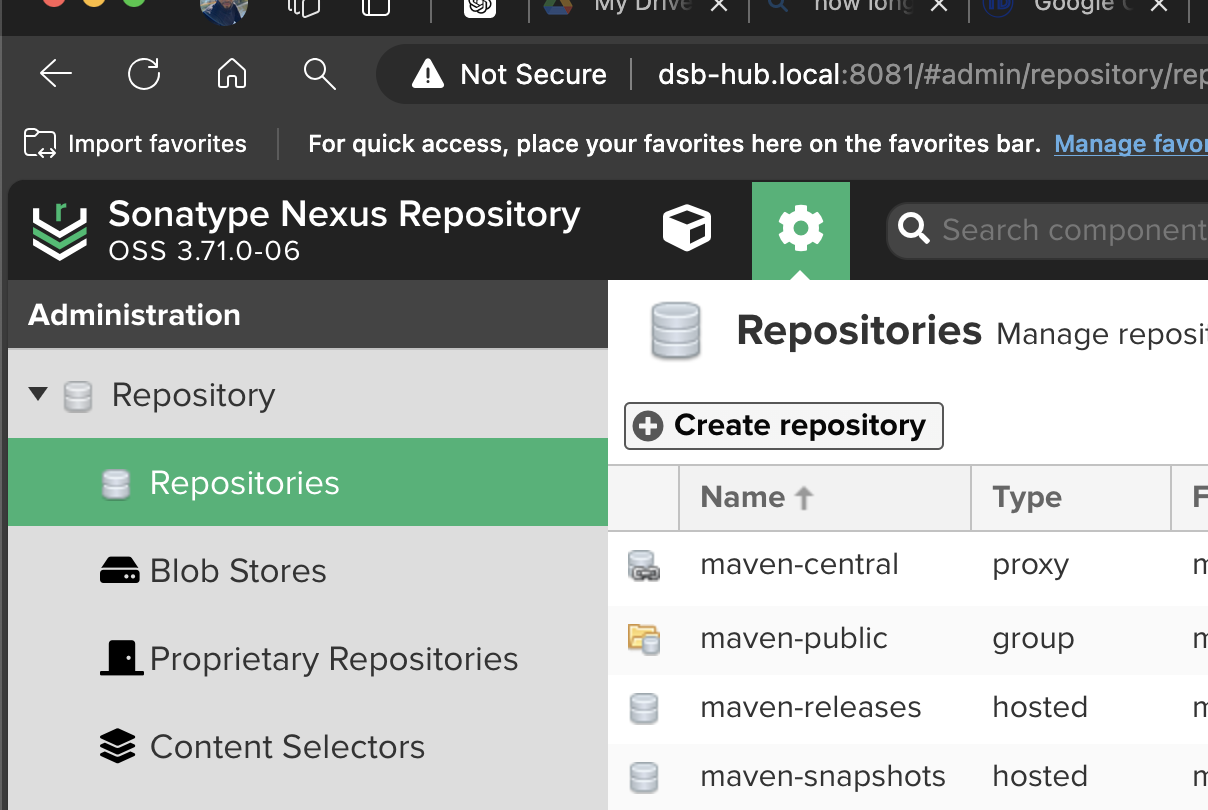
As admin, navigate to the UI and create a new repository:
-
For the new repository, choose "Docker proxy" and input the following information:
- Name:
docker-proxy - Remote Storage Proxy URL:
https://registry.hub.docker.com - Docker Index:
Docker Hub - Enable anonymous pulls.
- Set HTTP to
8082.
- Name:
-
Create a local user with the username
nx-anonymousand complete the setup: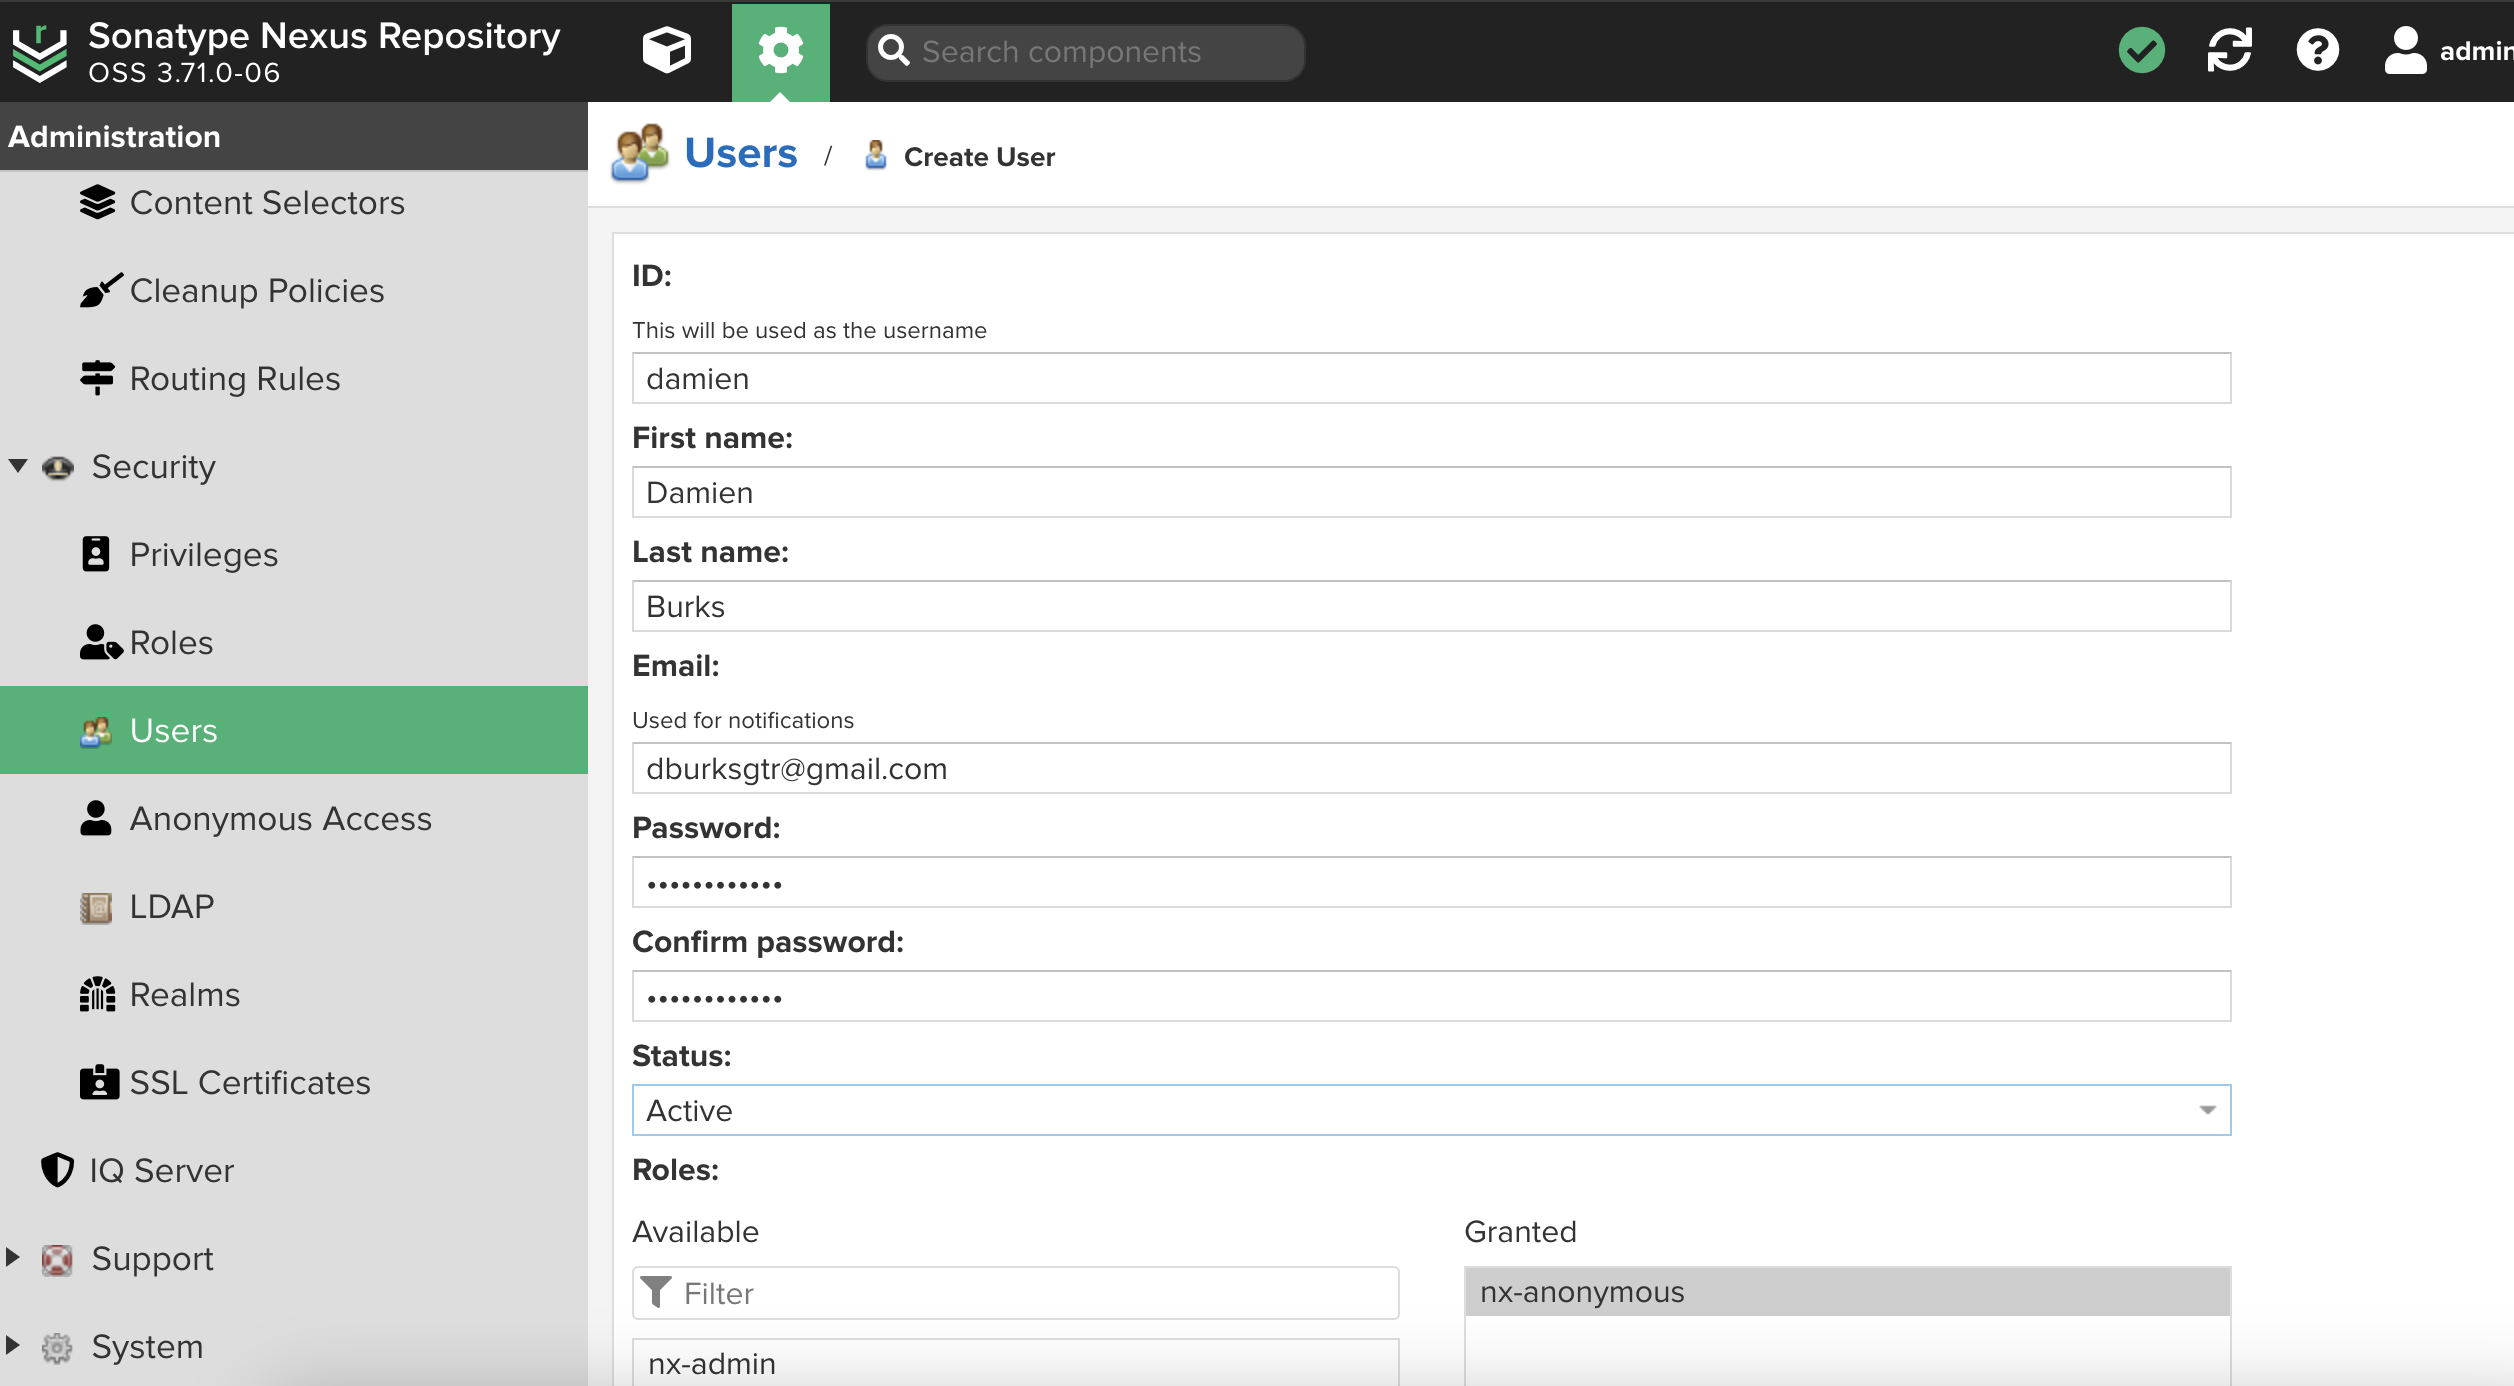
You're Done
You've successfully set up your Nexus server.